Professional masonry wall construction follows a systematic process that transforms raw materials into durable, attractive structures. The project typically spans one to three weeks depending on wall size and complexity, with careful attention to foundation work, material selection, and proper curing techniques. Understanding each phase helps property owners prepare their space, set realistic expectations, and recognize quality workmanship as it unfolds.
Why Masonry Walls Remain the Gold Standard for Property Boundaries
Masonry walls have served Long Island properties for generations because they deliver unmatched longevity and aesthetic flexibility. Unlike wood or vinyl alternatives that deteriorate within 15 to 20 years, properly built stone or brick walls can last a century or more with minimal maintenance. They withstand coastal weather patterns, resist fire and pests, and add substantial property value that softer materials cannot match.
The weight and thermal mass of masonry also provide noise reduction and windbreak benefits that matter in suburban neighborhoods. When you invest in professional construction, you gain a permanent landscape feature that defines your outdoor space for decades.
The Initial Consultation and Site Assessment Phase
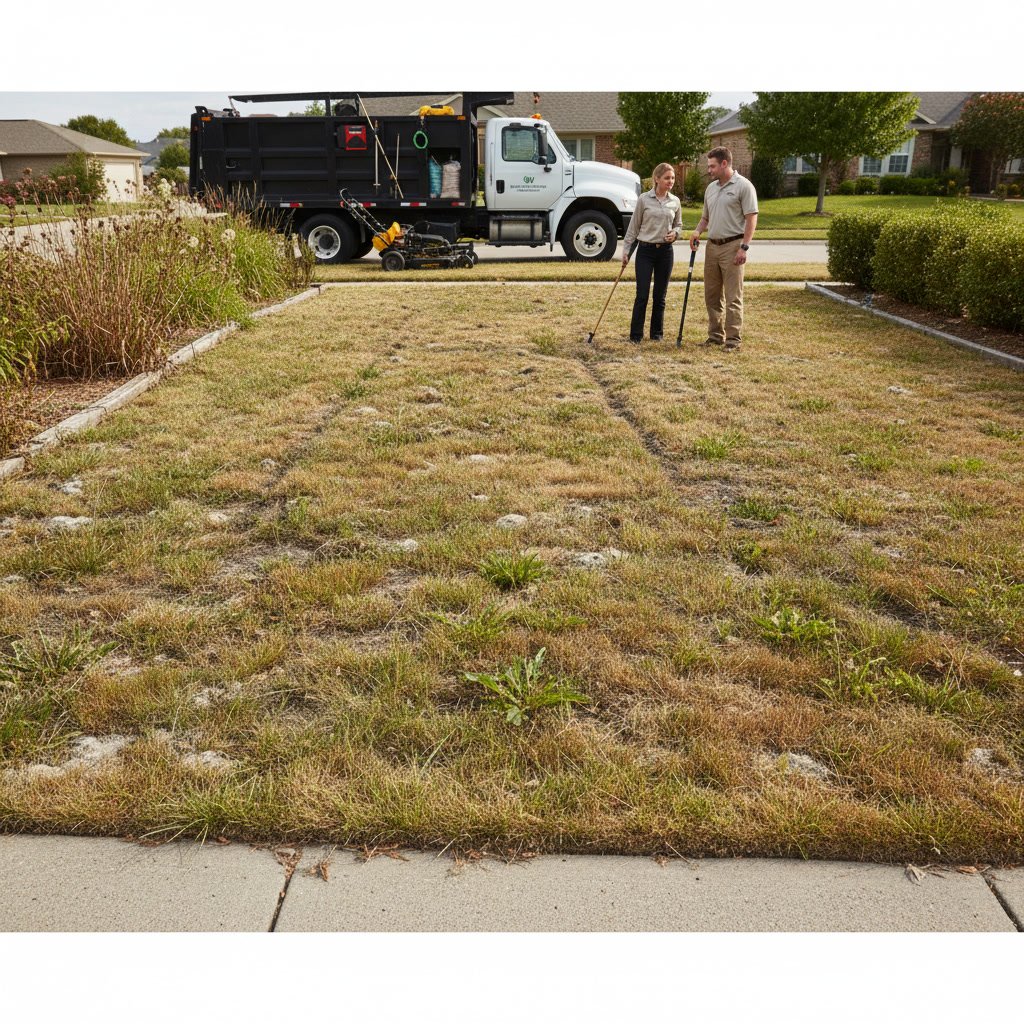
Before any digging begins, experienced contractors evaluate your property to identify challenges and opportunities. This assessment includes soil testing to determine bearing capacity, utility line mapping to avoid conflicts, and drainage pattern analysis to prevent water damage. Professionals measure grade changes, note existing vegetation that may need protection, and photograph the site for reference.
During this phase, you discuss wall height, length, material preferences, and functional goals. A retaining wall on a slope requires different engineering than a freestanding garden wall. Contractors also verify local building codes and permit requirements, which vary by municipality across Long Island. Some towns require permits for walls over three feet tall, while others have different thresholds.

Excavation and Foundation Preparation
The foundation determines whether your wall stands straight for generations or settles and cracks within years. Crews excavate to a depth below the frost line, typically 42 inches in the Long Island region, to prevent freeze-thaw heaving. The trench width extends beyond the wall footprint to allow working room and proper compaction.
Workers remove loose soil and organic material, then compact the subgrade in lifts using mechanical tampers. A crushed stone base goes down next, typically six to eight inches thick, compacted to 95% density or higher. This granular layer provides drainage and a stable platform for the concrete footing. Poor excavation work creates problems no amount of skilled masonry can fix later.
Pouring the Concrete Footing
The concrete footing anchors the entire wall system. For most residential walls, contractors pour a footing twice the wall width and eight to 12 inches deep. Reinforcing steel rebar runs horizontally through the concrete, with vertical bars extending upward if the wall design calls for a reinforced core.
Concrete must cure for at least three days, and preferably seven, before bearing the weight of masonry units. Rushing this step leads to settlement cracks and structural failure. During warm weather, crews cover fresh concrete with plastic sheeting or apply curing compound to prevent rapid moisture loss. Cold weather requires blankets or heated enclosures to maintain proper curing temperatures above 50 degrees.
Material Selection and Delivery Coordination
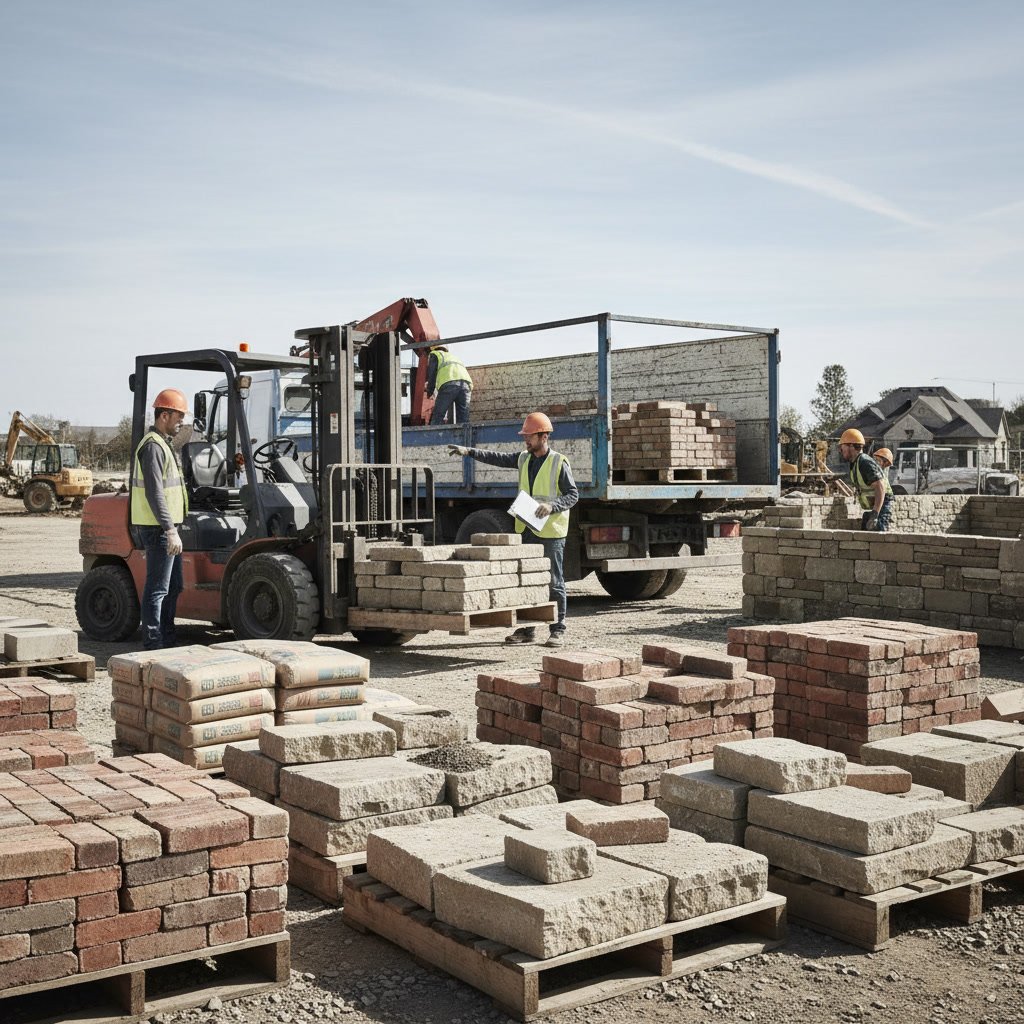
While the footing cures, materials arrive on site. Natural stone, concrete block, brick, and manufactured stone each offer distinct advantages. Natural fieldstone creates rustic, organic walls that blend with existing rock walls and traditional Long Island architecture. Concrete block provides speed and cost efficiency for walls that will be veneered or stuccoed.
Brick offers precise dimensions and uniform appearance, while manufactured stone combines natural aesthetics with lighter weight and easier handling. Quality suppliers sort materials by size and color variation, making the mason’s job more efficient. Delivery timing matters because storing hundreds of blocks or pallets of stone requires staging space that does not disrupt your daily property use.
Building the Wall Course by Course
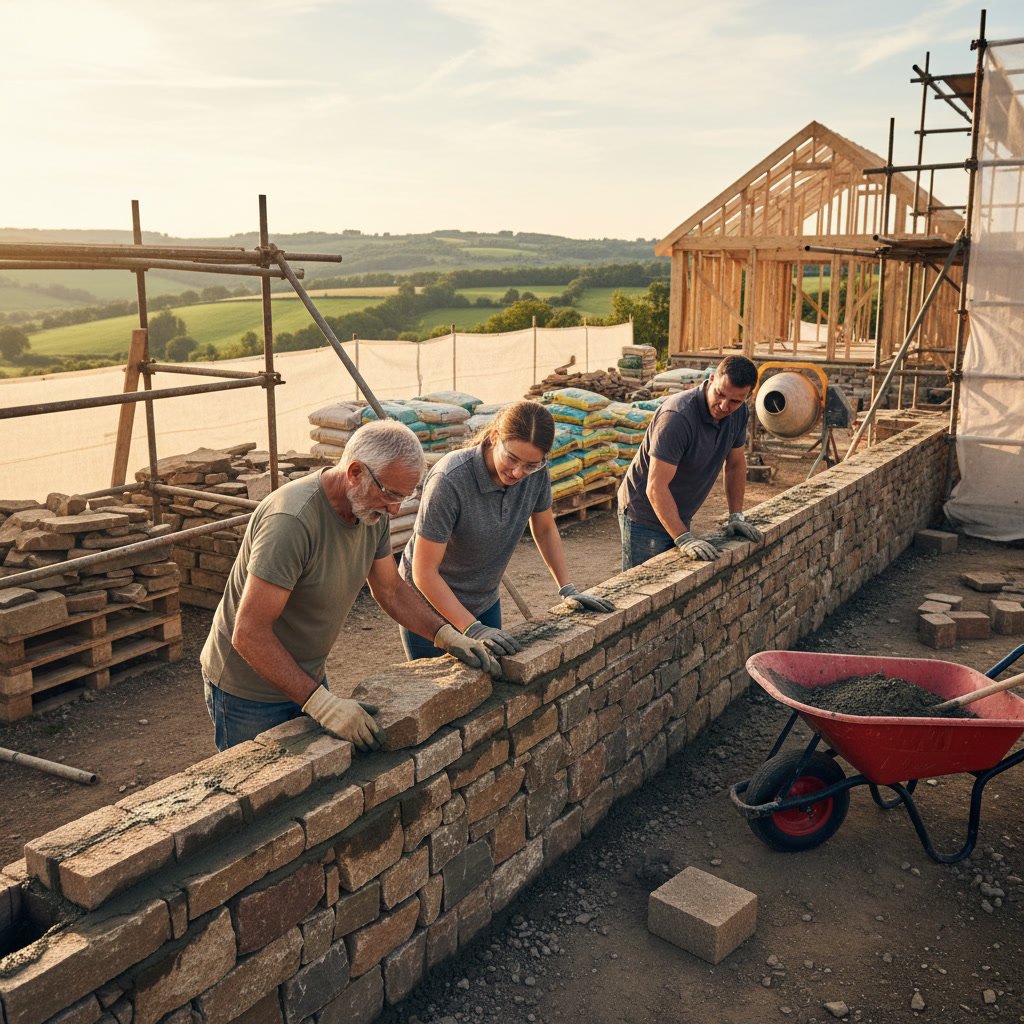
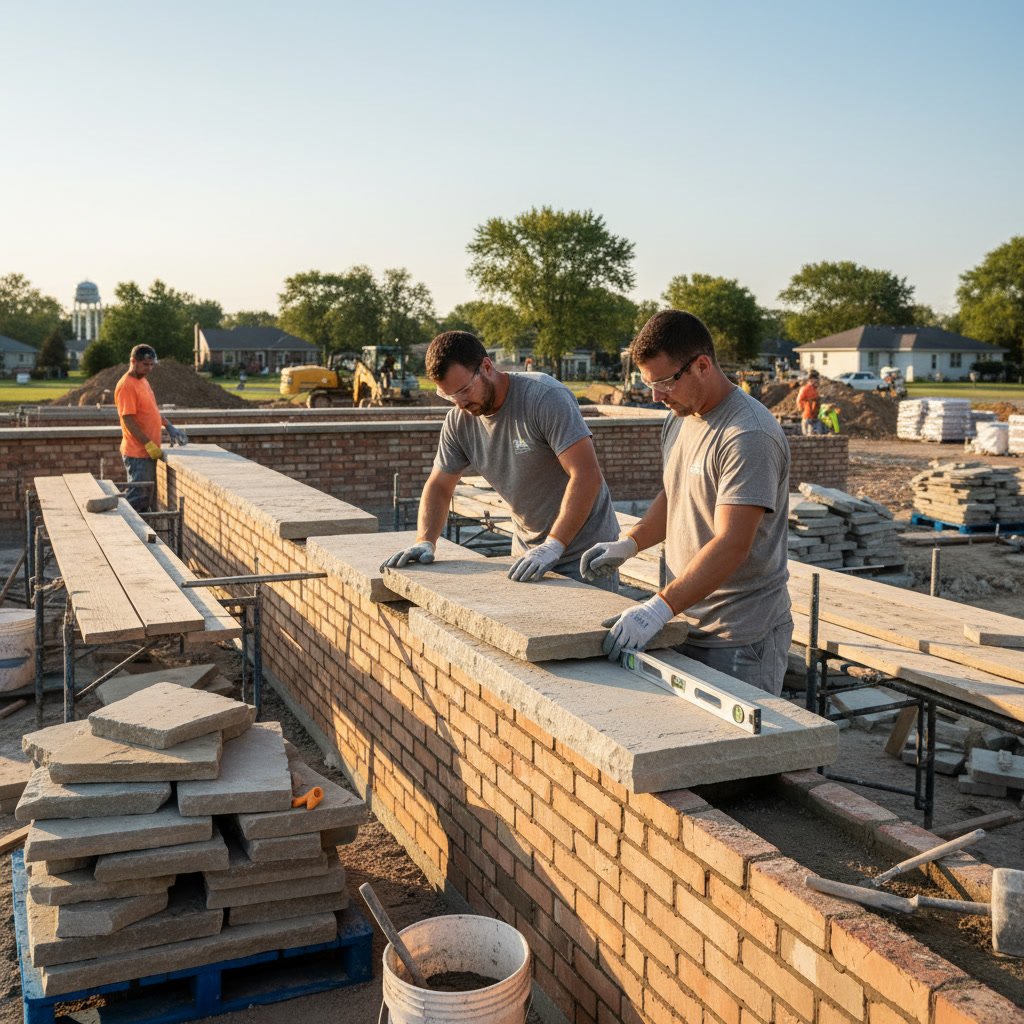
Masons begin with a dry layout, arranging the first course without mortar to establish bond pattern and verify material quantities. The first course sets the standard for everything above, so experienced crews spend extra time ensuring level and plumb. They mix mortar to proper consistency, neither too wet nor too stiff, and apply it in full beds that squeeze out slightly when blocks settle into place.
Each subsequent course offsets joints from the course below, creating structural interlock. Masons check level and plumb every few courses, making micro-adjustments before mortar sets. Wall ties or reinforcement bars connect multiple wythes in thick walls. For tall walls, horizontal joint reinforcement adds tensile strength every 16 inches of height.
The process moves methodically, typically advancing three to five feet of wall height per day depending on complexity. Rushing creates sloppy joints and alignment errors that become permanent once mortar hardens.
Incorporating Drainage and Weep Holes
Water management separates walls that last from walls that fail. Retaining walls require drainage systems behind the masonry to prevent hydrostatic pressure buildup. Contractors install perforated drain pipe at the footing level, surrounded by clean gravel and separated from soil by filter fabric.
Weep holes at the base course allow trapped water to escape. These openings, spaced every four to eight feet, may use plastic vents or simply omit mortar in vertical joints. Backfill material matters too. Clean gravel or crushed stone drains freely, while clay soil holds water against the wall. Proper topsoil and grading work directs surface water away from the wall rather than toward it.
Capping and Finishing Touches in Lindenhurst Projects
The cap course protects the wall from water infiltration and provides finished appearance. Cap stones overhang the wall face slightly, shedding rain away from joints. Natural stone caps may be individual pieces two to three inches thick, while concrete caps can be cast in place or preformed. Some designs use brick soldiers stood on edge for a traditional look.
Masons tool the joints once mortar reaches thumbprint firmness, compressing and shaping the surface for weather resistance and visual consistency. Concave or V-shaped joints shed water better than flush joints. After tooling, crews brush away mortar crumbs and clean stone faces before residue hardens.
In the Lindenhurst area, projects often integrate outdoor lighting into wall designs, with conduit and junction boxes installed during construction rather than retrofitted later.
Curing Time and Initial Settling
Mortar reaches handling strength in 24 to 48 hours but continues gaining strength for 28 days. During the first week, avoid leaning heavy objects against the wall or applying backfill pressure behind retaining walls. Gradual backfilling in eight-inch lifts, compacted lightly, prevents displacement while mortar cures.
Some minor settling occurs in the first season as soil consolidates and materials adjust. Hairline cracks at joints may appear and typically require no repair. Cracks running through masonry units or stair-stepping across multiple courses signal foundation problems that need professional assessment.
Long-Term Maintenance Requirements
Quality masonry needs little ongoing care but benefits from periodic inspection. Check joints annually for erosion or cracking, especially after severe winters. Repointing deteriorated mortar prevents water infiltration that leads to freeze-thaw damage. Power washing removes dirt and organic growth but should use low pressure to avoid eroding joints.
Verify that drainage systems remain clear and that soil has not built up against weep holes. Trees planted too close to walls can eventually push stones out of alignment as roots expand. Maintaining the surrounding landscape design protects your masonry investment by controlling moisture and root intrusion.
When to Consider Additional Structural Features
Tall retaining walls over four feet may require engineering stamps and reinforcement beyond standard construction. Geogrid layers embedded in backfill, tiebacks anchored into stable soil, or battered wall faces that lean into the slope all add stability. Curved walls need special attention to radius and running bond pattern.
Integrating steps, pillars, or planters into wall designs requires planning during the foundation phase. These elements create visual interest and functional access but add complexity to the build sequence. Some homeowners combine masonry walls with fencing above, creating defined boundaries with varied texture and height.
Your Property Deserves Skilled Craftsmanship
Professional masonry wall construction transforms properties through careful planning, quality materials, and skilled execution at every phase. From initial excavation through final curing, each step builds on the previous work to create structures that enhance your landscape for generations. Understanding the process helps you recognize the difference between rushed work and craftsmanship that stands the test of time.
Clean Cut Landscaping LLC brings over a decade of masonry experience to residential and commercial properties throughout Long Island. Our team handles every phase from site assessment and permitting through final inspection, ensuring your wall meets both aesthetic goals and structural requirements. Whether you need a retaining wall for a sloped yard or a decorative garden wall to define outdoor spaces, we deliver the expertise your property deserves. Call +16315301109 to discuss your project and schedule a site consultation.