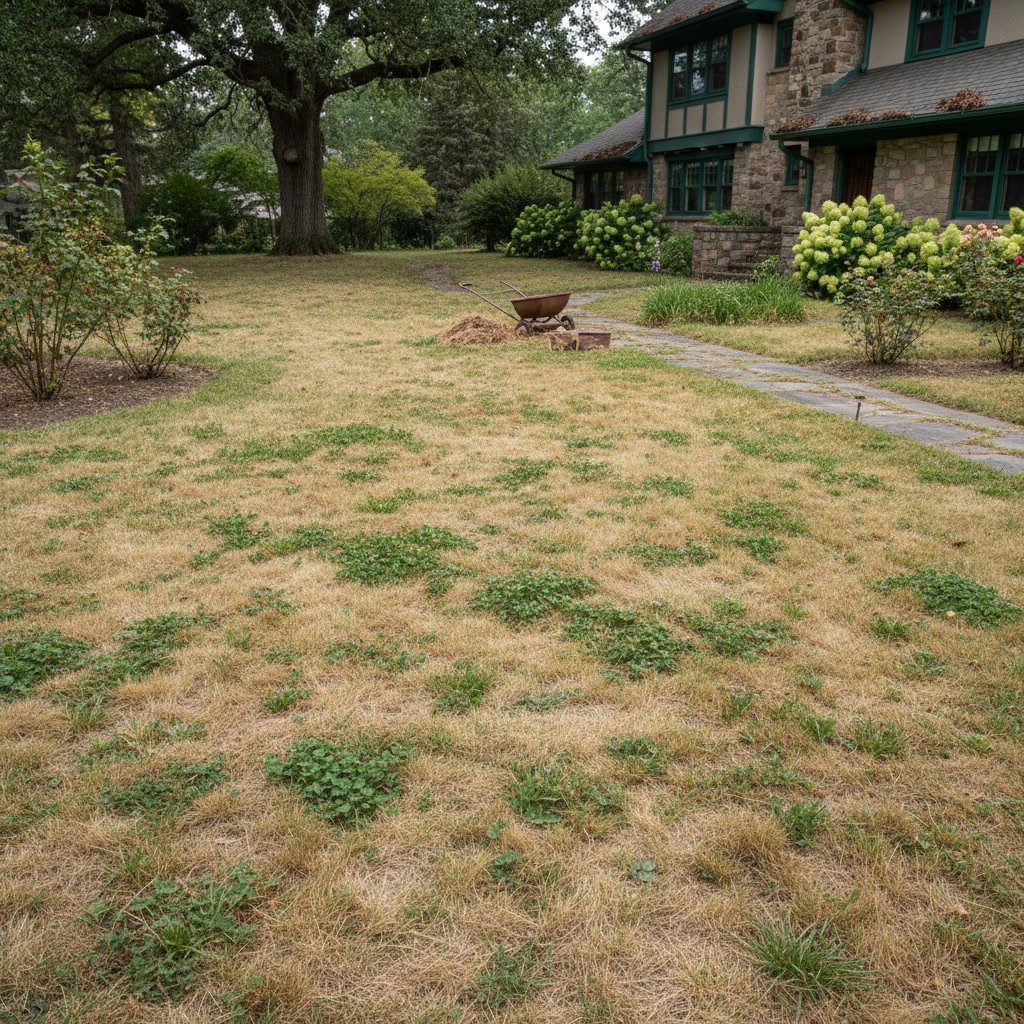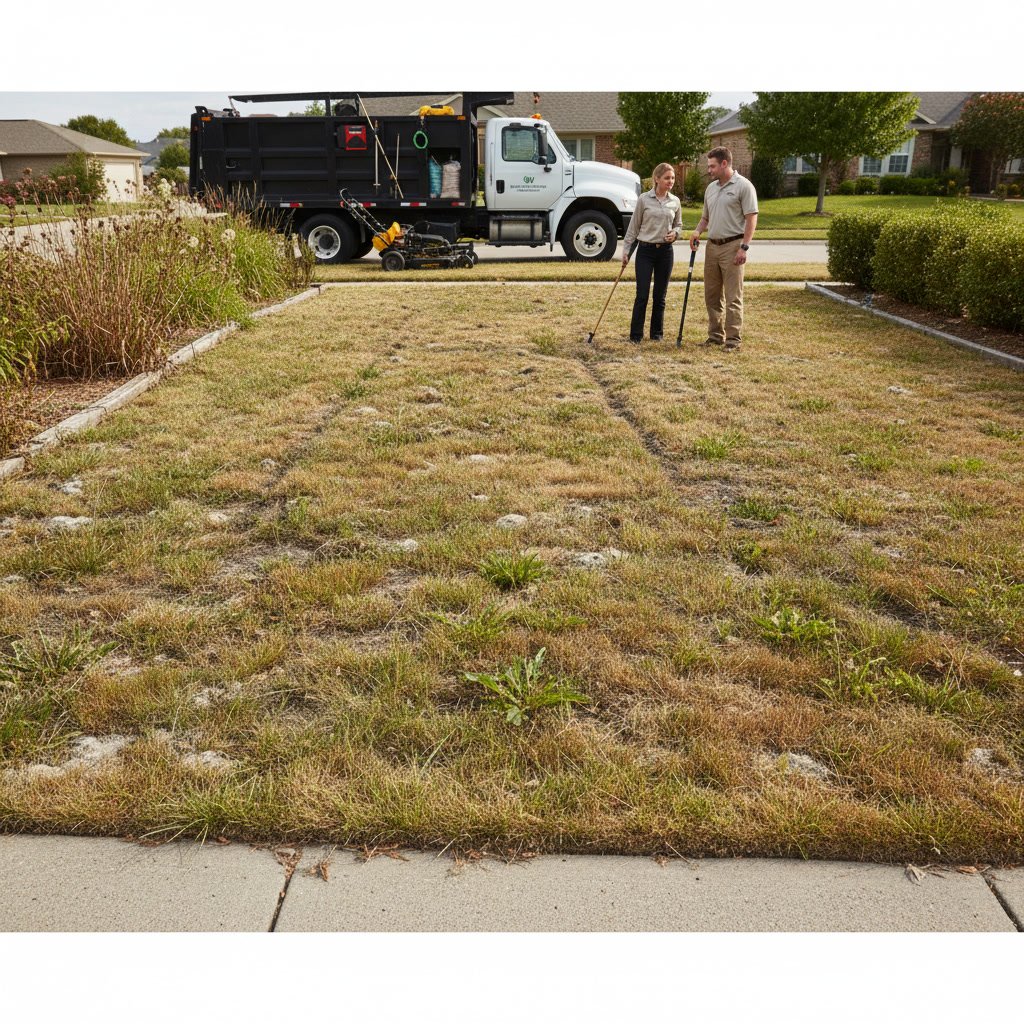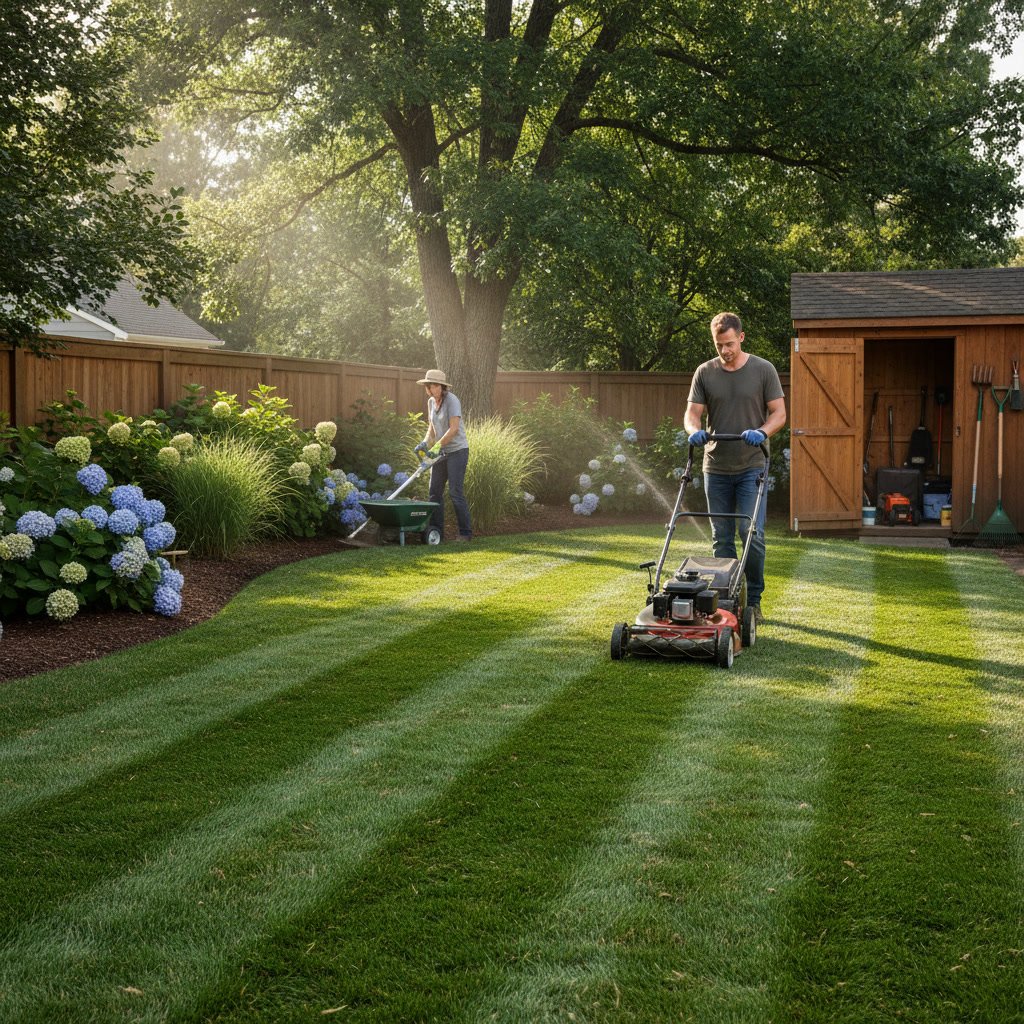
A patchy, struggling lawn can make even the most beautiful home look neglected. If you’re tired of waiting months or years for grass seed to fill in bare spots, sod offers an instant transformation. But when you decide to install sod Babylon homeowners need to understand that timing and preparation make the difference between a lawn that thrives for decades and one that fails within weeks.
The good news is that Long Island’s climate provides multiple windows throughout the year when conditions are ideal for sod installation. Understanding these windows, combined with proper soil preparation, will give you the lush, healthy lawn you want without the frustration of starting over.
This guide covers everything you need to know about timing your sod installation, preparing your existing lawn bed, and ensuring your new grass establishes strong roots that withstand our local weather patterns.
Why Timing Matters for Sod Installation in Babylon
Sod is living grass with an intact root system, and like any plant, it has optimal growing conditions. Install during the wrong season, and you’ll fight an uphill battle with heat stress, frozen ground, or root diseases.
In Babylon and throughout Long Island, our climate falls into USDA Hardiness Zone 7a. This means we experience cold winters with occasional freezing and hot, humid summers. Your sod needs moderate temperatures and consistent moisture to establish roots before facing extreme weather.
When roots haven’t had time to anchor into the soil beneath the sod layer, your new lawn becomes vulnerable. Summer heat can cause the sod to dry out and die before roots reach deeper moisture. Winter freezing can heave poorly rooted sod right out of the ground.
The establishment period typically takes four to six weeks. During this time, roots grow from the sod into your native soil, creating a permanent bond. Choose your installation window to give those roots the best possible growing conditions.
Best Seasons to Install Sod Babylon Homeowners Should Know
Two primary windows offer ideal conditions for sod installation in our area, with a third acceptable option if you’re willing to provide extra care.
Early Fall: September Through Mid-October
This is the single best time to install sod Babylon residents can choose. Temperatures range from 60 to 75 degrees, soil remains warm from summer, and rainfall increases naturally.
Cool-season grasses like Kentucky bluegrass, perennial ryegrass, and tall fescue (the most common sod types in our area) actively grow roots in fall. Above-ground growth slows, which means the plant’s energy goes into root development rather than blade production.
You’ll also face fewer irrigation demands. Fall typically brings more consistent rainfall, reducing your water bill and the risk of under-watering. Weed competition drops significantly as annual weeds die back with cooler temperatures.
Plan to complete installation by mid-October at the latest. Sod laid after this point may not establish adequate roots before the ground freezes.
Mid-Spring: Late April Through May
Spring is the second-best window. Soil temperatures reach 50 degrees and above, triggering active root growth. Air temperatures remain moderate, usually between 55 and 70 degrees.
The main challenge with spring installation is weed pressure. Annual weeds germinate aggressively in spring, and your newly installed sod can’t tolerate herbicide applications for at least 30 days. Proper soil preparation before installation becomes critical to minimize weed seeds in the top layer.
Spring also requires careful irrigation management. Some weeks bring heavy rain, while others can be surprisingly dry. You’ll need to monitor soil moisture daily and adjust watering accordingly.
Early Summer and Late Spring: June Through Early July
You can install sod during early summer, but success requires diligent care. Temperatures climb into the 80s and 90s, increasing water demands significantly.
If you choose this window, expect to water two to three times daily during hot spells. The sod must never dry out during establishment, which means committing to a strict irrigation schedule for at least a month.
This timing works best if you have an irrigation system already in place or the ability to hand-water multiple times per day. For most homeowners, waiting for fall provides better results with less effort and expense.
Soil Preparation Steps Before Sod Arrives
Even the highest-quality sod will fail on poorly prepared soil. Think of soil prep as building a foundation. You wouldn’t construct a house on unstable ground, and you shouldn’t lay sod on compacted, nutrient-poor, or improperly graded soil.
Remove Existing Vegetation
Clear all existing grass, weeds, and debris from the installation area. For small areas, you can use a sod cutter (available at tool rental shops) to strip the old lawn. This machine cuts horizontally beneath the grass, removing it with the root system intact.
For larger areas or heavily weeded lawns, consider using a non-selective herbicide containing glyphosate. Apply it seven to ten days before removal, following label directions exactly. Once the vegetation dies, remove it with the sod cutter or rototiller.
Never lay new sod directly over old grass. The dead vegetation creates an air pocket that prevents new roots from reaching soil. It also retains excess moisture, promoting fungal diseases.
Test and Amend Your Soil
Soil testing takes the guesswork out of amendments. A basic test costs $15 to $30 and reveals pH levels, nutrient deficiencies, and organic matter content.
Long Island soils often run slightly acidic to neutral (pH 6.0 to 7.0), which works well for most grass types. If your test shows pH below 6.0, add lime according to test recommendations. For pH above 7.5, sulfur can lower it gradually.
Most established Long Island lawns benefit from adding organic matter. Spread one to two inches of compost across the entire area and till it into the top six inches of existing soil. This improves drainage in our often-clay-heavy soils and adds nutrients that release slowly over time.
Grade for Proper Drainage
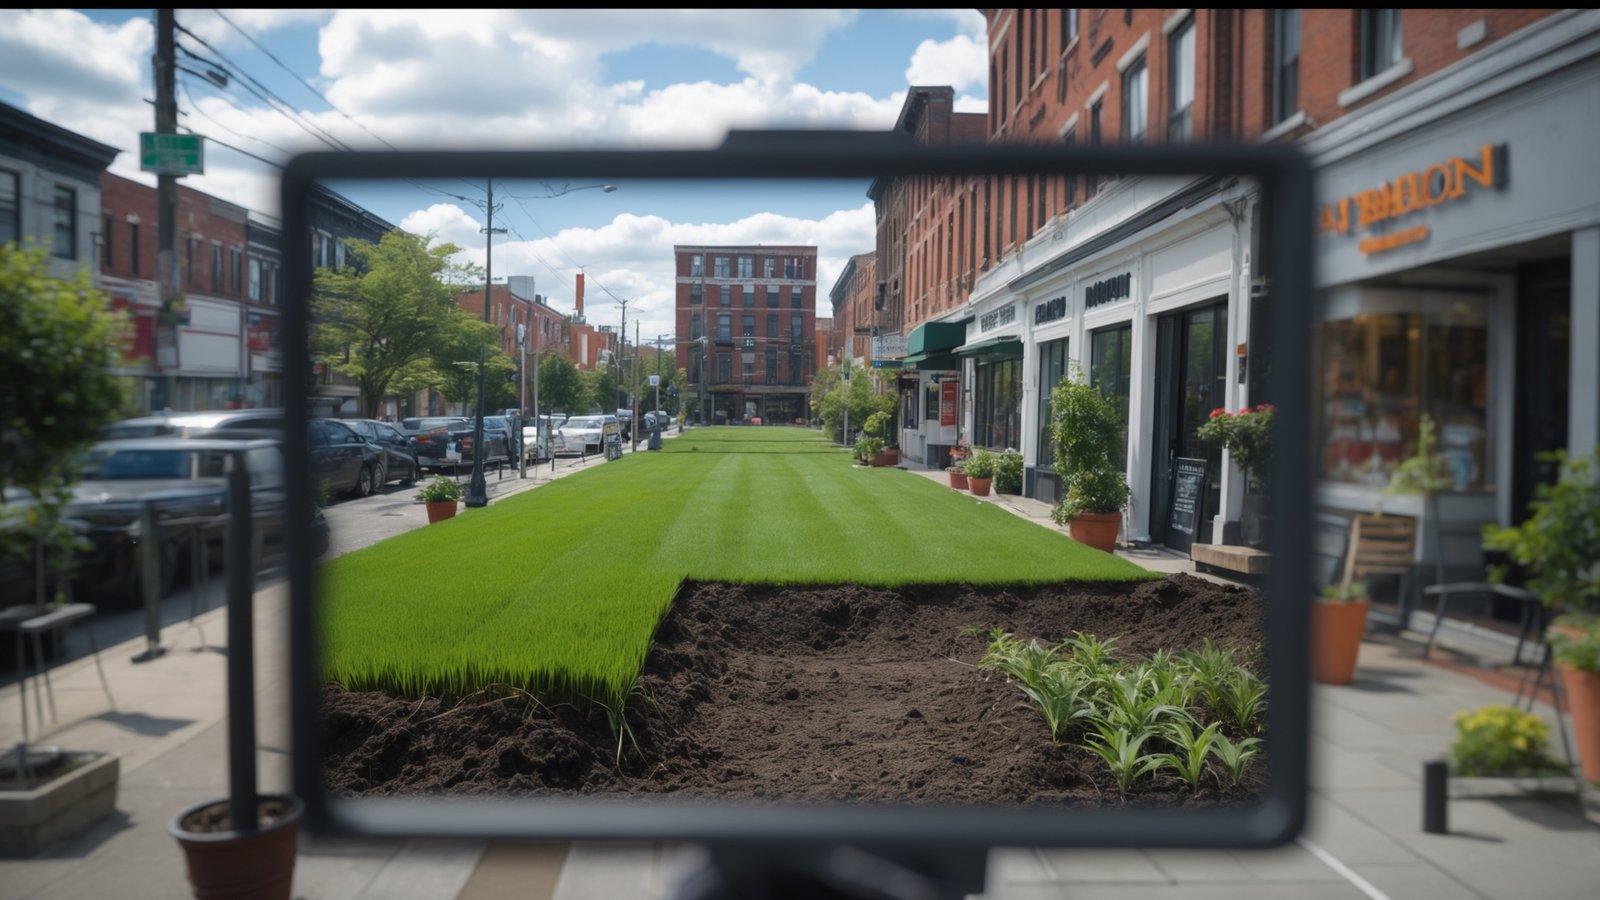
Water should always flow away from buildings and not pool anywhere in the lawn. Establish a slope of at least one to two percent (one to two inches of drop per ten feet of distance).
Use a landscape rake to smooth the surface and remove rocks, roots, and clumps larger than a golf ball. The final grade should sit one inch below sidewalks, driveways, and other hardscapes. When you lay sod (which is typically one inch thick), the finished lawn will be level with these surfaces.
After grading, lightly roll the area with a lawn roller one-third filled with water. This reveals low spots that need additional soil and firms the surface without compacting it.
Add Starter Fertilizer
Apply a phosphorus-rich starter fertilizer 24 to 48 hours before sod delivery. Look for a ratio like 18-24-12, where the middle number (phosphorus) is highest. Phosphorus promotes root development, which is exactly what newly installed sod needs.
Spread fertilizer evenly using a broadcast spreader, following bag directions for coverage rates. Rake it lightly into the top half-inch of soil.
Pro Tip: Schedule your soil prep work to finish one day before sod delivery. Prepared soil that sits for weeks can develop a crust, become compacted from rain, or sprout new weeds. Fresh preparation gives the best results.
Installation Day Best Practices
Sod is a perishable product. From the moment it’s harvested, the grass begins to heat up and deteriorate. Most sod should be installed within 24 hours of cutting, and sooner is always better.
Start laying sod along the longest straight edge of your property, usually a driveway or sidewalk. Unroll each piece tightly against the previous one with no gaps or overlaps. Stagger the seams like brickwork so edges don’t line up, which prevents visible lines and weak spots.
Use a sharp utility knife to cut sod around curves, beds, and obstacles. Make clean cuts rather than tearing, which damages grass crowns.
As you work, avoid walking on bare soil as much as possible. Work from boards or pieces of plywood to prevent creating footprints and compaction in your prepared surface.
After laying several hundred square feet, roll that section lightly with an empty or one-third-full lawn roller. This presses sod roots against the soil and eliminates air pockets that can dry out roots.
Critical First Month Care After Installation
The first 30 days determine whether your investment thrives or fails. Newly installed sod has shallow roots that dry out quickly and can’t yet access deeper soil moisture.
Watering Schedule
Water immediately after installation is complete, applying enough to soak the sod and penetrate two to three inches into the soil beneath. Lift a corner of sod after watering to verify moisture has reached the soil interface.
For the first week, water lightly two to three times per day (early morning, midday, and late afternoon). Each session should apply about a quarter-inch of water. The goal is keeping the sod consistently moist without creating standing water or runoff.
During week two, reduce frequency to once or twice daily while increasing the amount per session to one-half inch. This encourages roots to grow deeper in search of moisture.
By week three, water once per day in early morning, applying one-half to three-quarters of an inch. Check soil moisture by pushing a screwdriver into the ground. It should penetrate easily to a depth of four to six inches.
After 30 days, established sod needs about one inch of water per week from rainfall and irrigation combined. Water deeply and infrequently (two to three times per week) rather than daily light watering.
When to Mow New Sod
Wait until grass reaches three to four inches before the first mowing, typically ten to 14 days after installation. Remove no more than one-third of the blade length. Set your mower to its highest setting (around three inches) for this first cut.
Make sure soil has dried enough that walking doesn’t leave footprints and mower wheels won’t rut the surface. Wet, soft soil can damage new roots.
Keep mower blades sharp. Dull blades tear grass rather than cutting cleanly, creating brown tips and stress that slows establishment.
Limit Foot Traffic
Avoid heavy use for the first four weeks. Light walking to water or inspect the lawn is fine, but children playing, pets running, or lawn furniture will damage grass before roots anchor properly.
After one month, gradually increase use. The sod should feel firmly attached when you try to lift a corner. If it pulls up easily, give it another week or two before regular traffic resumes.
Common Mistakes That Cause Sod Failure
Even with good timing and preparation, certain missteps can doom your project.
Inadequate watering tops the list. Sod can die within 24 to 48 hours if it dries out during the first week. Check it twice daily and adjust irrigation based on weather conditions, not a rigid schedule.
Installing on hard, compacted soil prevents roots from penetrating. Always loosen and amend soil before laying sod. If heavy equipment compacted your site during construction, you may need deep tilling to eight or ten inches.
Poor grading creates puddles where sod sits in water, promoting fungal diseases like brown patch or pythium blight. Water must drain within a few hours of application.
Waiting too long to install after delivery causes the sod to heat up and deteriorate. Rolls stacked on pallets generate heat through decomposition. In summer, this can kill sod in as little as eight hours.
Mowing too soon or cutting too short stresses grass before it establishes. Patience during the first two weeks pays off with healthier, more resilient turf.
Choosing the Right Sod Type for Long Island
Not all sod performs equally in Babylon’s climate and soil conditions. Cool-season grasses dominate Long Island lawns because they thrive in our temperature range and rainfall patterns.
Kentucky bluegrass offers a fine texture and deep green color. It spreads through rhizomes, which helps it self-repair from damage. Bluegrass needs full sun and regular fertilization but creates the classic, high-quality lawn appearance.
Tall fescue tolerates heat, drought, and shade better than bluegrass. Its deeper root system (up to 12 inches) makes it more resilient during dry spells. Fescue has a slightly coarser texture but requires less maintenance overall.
Perennial ryegrass germinates and establishes quickly. It handles moderate foot traffic well and has good disease resistance. Ryegrass often comes blended with bluegrass for a balance of durability and appearance.
Many sod farms offer premium blends combining two or three grass types. These blends provide broader disease resistance and adaptability to varying light and moisture conditions across your property.
Cost Considerations and Budget Planning
Understanding the full cost helps you budget appropriately and avoid surprises.
Sod itself typically costs $0.35 to $0.85 per square foot for standard cool-season varieties in our area. Premium blends or specialty grasses may run higher. A typical 5,000-square-foot lawn requires $1,750 to $4,250 in sod alone.
Delivery fees vary by distance and order size but generally range from $75 to $200. Some suppliers waive delivery for large orders.
Soil preparation adds to the cost if you hire professionals. Expect $0.25 to $0.75 per square foot for grading, tilling, and amending, depending on current soil condition and accessibility.
Installation labor runs $0.40 to $0.80 per square foot when you hire a landscaping company. Professional installation ensures proper technique and often comes with a limited warranty on sod survival.
Don’t forget irrigation costs during establishment. Expect your water bill to increase by $50 to $150 for the first month, depending on weather conditions and whether you have a metered well or municipal water.
How Professional Installation Saves Time and Money
While DIY sod installation is possible for small areas, professional installation offers significant advantages for most projects.
Experienced crews complete in hours what might take you days. A professional team can prep and install 5,000 square feet in one to two days, minimizing the time sod sits waiting and reducing stress on the grass.
Professionals have the right equipment. Proper sod cutters, rollers, grading equipment, and cutting tools ensure quality results. Renting these tools often costs as much as hiring help while requiring you to learn proper techniques.
Warranties protect your investment. Many professional installers guarantee sod survival for 30 to 90 days when you follow their care instructions. If sections fail due to installation issues, they’ll replace them at no charge.
Soil testing and amendment expertise takes the guesswork out of preparation. Professionals understand local soil conditions and exactly what amendments produce the best results in Babylon and surrounding areas.
Proper grading prevents drainage problems that are expensive to fix later. Getting the slope right the first time avoids soggy areas, erosion, and potential foundation issues.
Key Takeaway: The money you save on DIY installation often disappears when you factor in tool rental, multiple trips for materials, wasted sod from mistakes, and the value of your time. Professional installation typically delivers better results with less hassle.
Frequently Asked Questions
Can you install sod in summer in Babylon NY?
Yes, but it requires intensive care. Summer installation demands watering two to three times daily during the first two weeks to prevent heat stress and drying. The success rate drops compared to fall or spring installation, and water costs increase significantly. If you must install in summer, choose a week with mild temperatures forecasted and avoid the hottest part of July and August.
How long before you can walk on new sod?
Light foot traffic for watering and inspection is fine immediately after installation. Avoid regular walking, playing, or placing furniture on new sod for the first three to four weeks. After 30 days, when roots have anchored into the soil beneath, you can gradually return to normal use. Test by trying to lift a corner of sod; if it resists and holds firmly, the lawn can handle increased traffic.
What happens if it rains right after sod installation?
Light to moderate rain benefits new sod by providing natural irrigation and reducing your watering workload. Heavy rain can cause problems if grading is poor and water pools on the surface. Standing water for more than a few hours can suffocate roots and promote disease. If heavy rain is forecast within 48 hours of installation, verify that your grading provides proper drainage before proceeding.
How much does it cost to install sod on a typical Babylon lawn?
For a standard 5,000-square-foot lawn, expect to pay $3,000 to $7,500 for professional installation including sod, delivery, soil prep, and labor. Costs vary based on current soil condition, grading requirements, sod type, and property accessibility. Smaller areas or simple replacement projects may run less, while properties requiring significant grading or soil amendment will cost more. The investment typically pays off in immediate curb appeal and years of enjoyment.
Does new sod need fertilizer right away?
Apply starter fertilizer to the soil before installation, not after. This phosphorus-rich fertilizer sits at the root zone where new roots can access it immediately. Avoid fertilizing the sod surface for at least 30 days after installation. Once established, apply a balanced lawn fertilizer following soil test recommendations, typically four times per year for Long Island lawns.
Get Your Dream Lawn This Season
Installing sod transforms your property instantly, but success depends on proper timing and preparation. Early fall offers the best window for installation in Babylon, with spring as a strong second choice. Thorough soil preparation, quality sod selection, and diligent care during the first month ensure your investment thrives for years.
Whether you’re replacing a failing lawn, landscaping new construction, or upgrading to a premium grass blend, professional installation delivers consistent results with less risk. Clean Cut Landscaping LLC has helped homeowners throughout Babylon, Massapequa, Amityville, and surrounding Long Island communities achieve beautiful, healthy lawns through expert sod installation and preparation.
Ready to enjoy a lush, green lawn without the wait? Contact Clean Cut Landscaping at +16315301109 to discuss your sod installation project and schedule a consultation. Our team will assess your property, recommend the best sod type and timing for your needs, and handle every detail from soil prep to final installation.